You’ve got a great setup. Now it’s time to show it off. Here are 5 tips to help you show your setup in the best light.
We’ve all been there. You want to take a photo of the setup you just blew thousands of dollars on, but something just seems off. Maybe the photo’s perspective is warped. Or the lighting isn’t quite right. Whatever the problem, your setup looks a shadow of its actual self.
Taking good setup photos requires an understanding of composition, lighting, and angles. The good news is that you don’t need to be a DSLR-totting professional photographer to post something worthy of r/Battlestations — all you need is your smartphone.
Here are 5 helpful tips that will help you instantly take better photos.
How to take better setup photos
Position your setup off-center
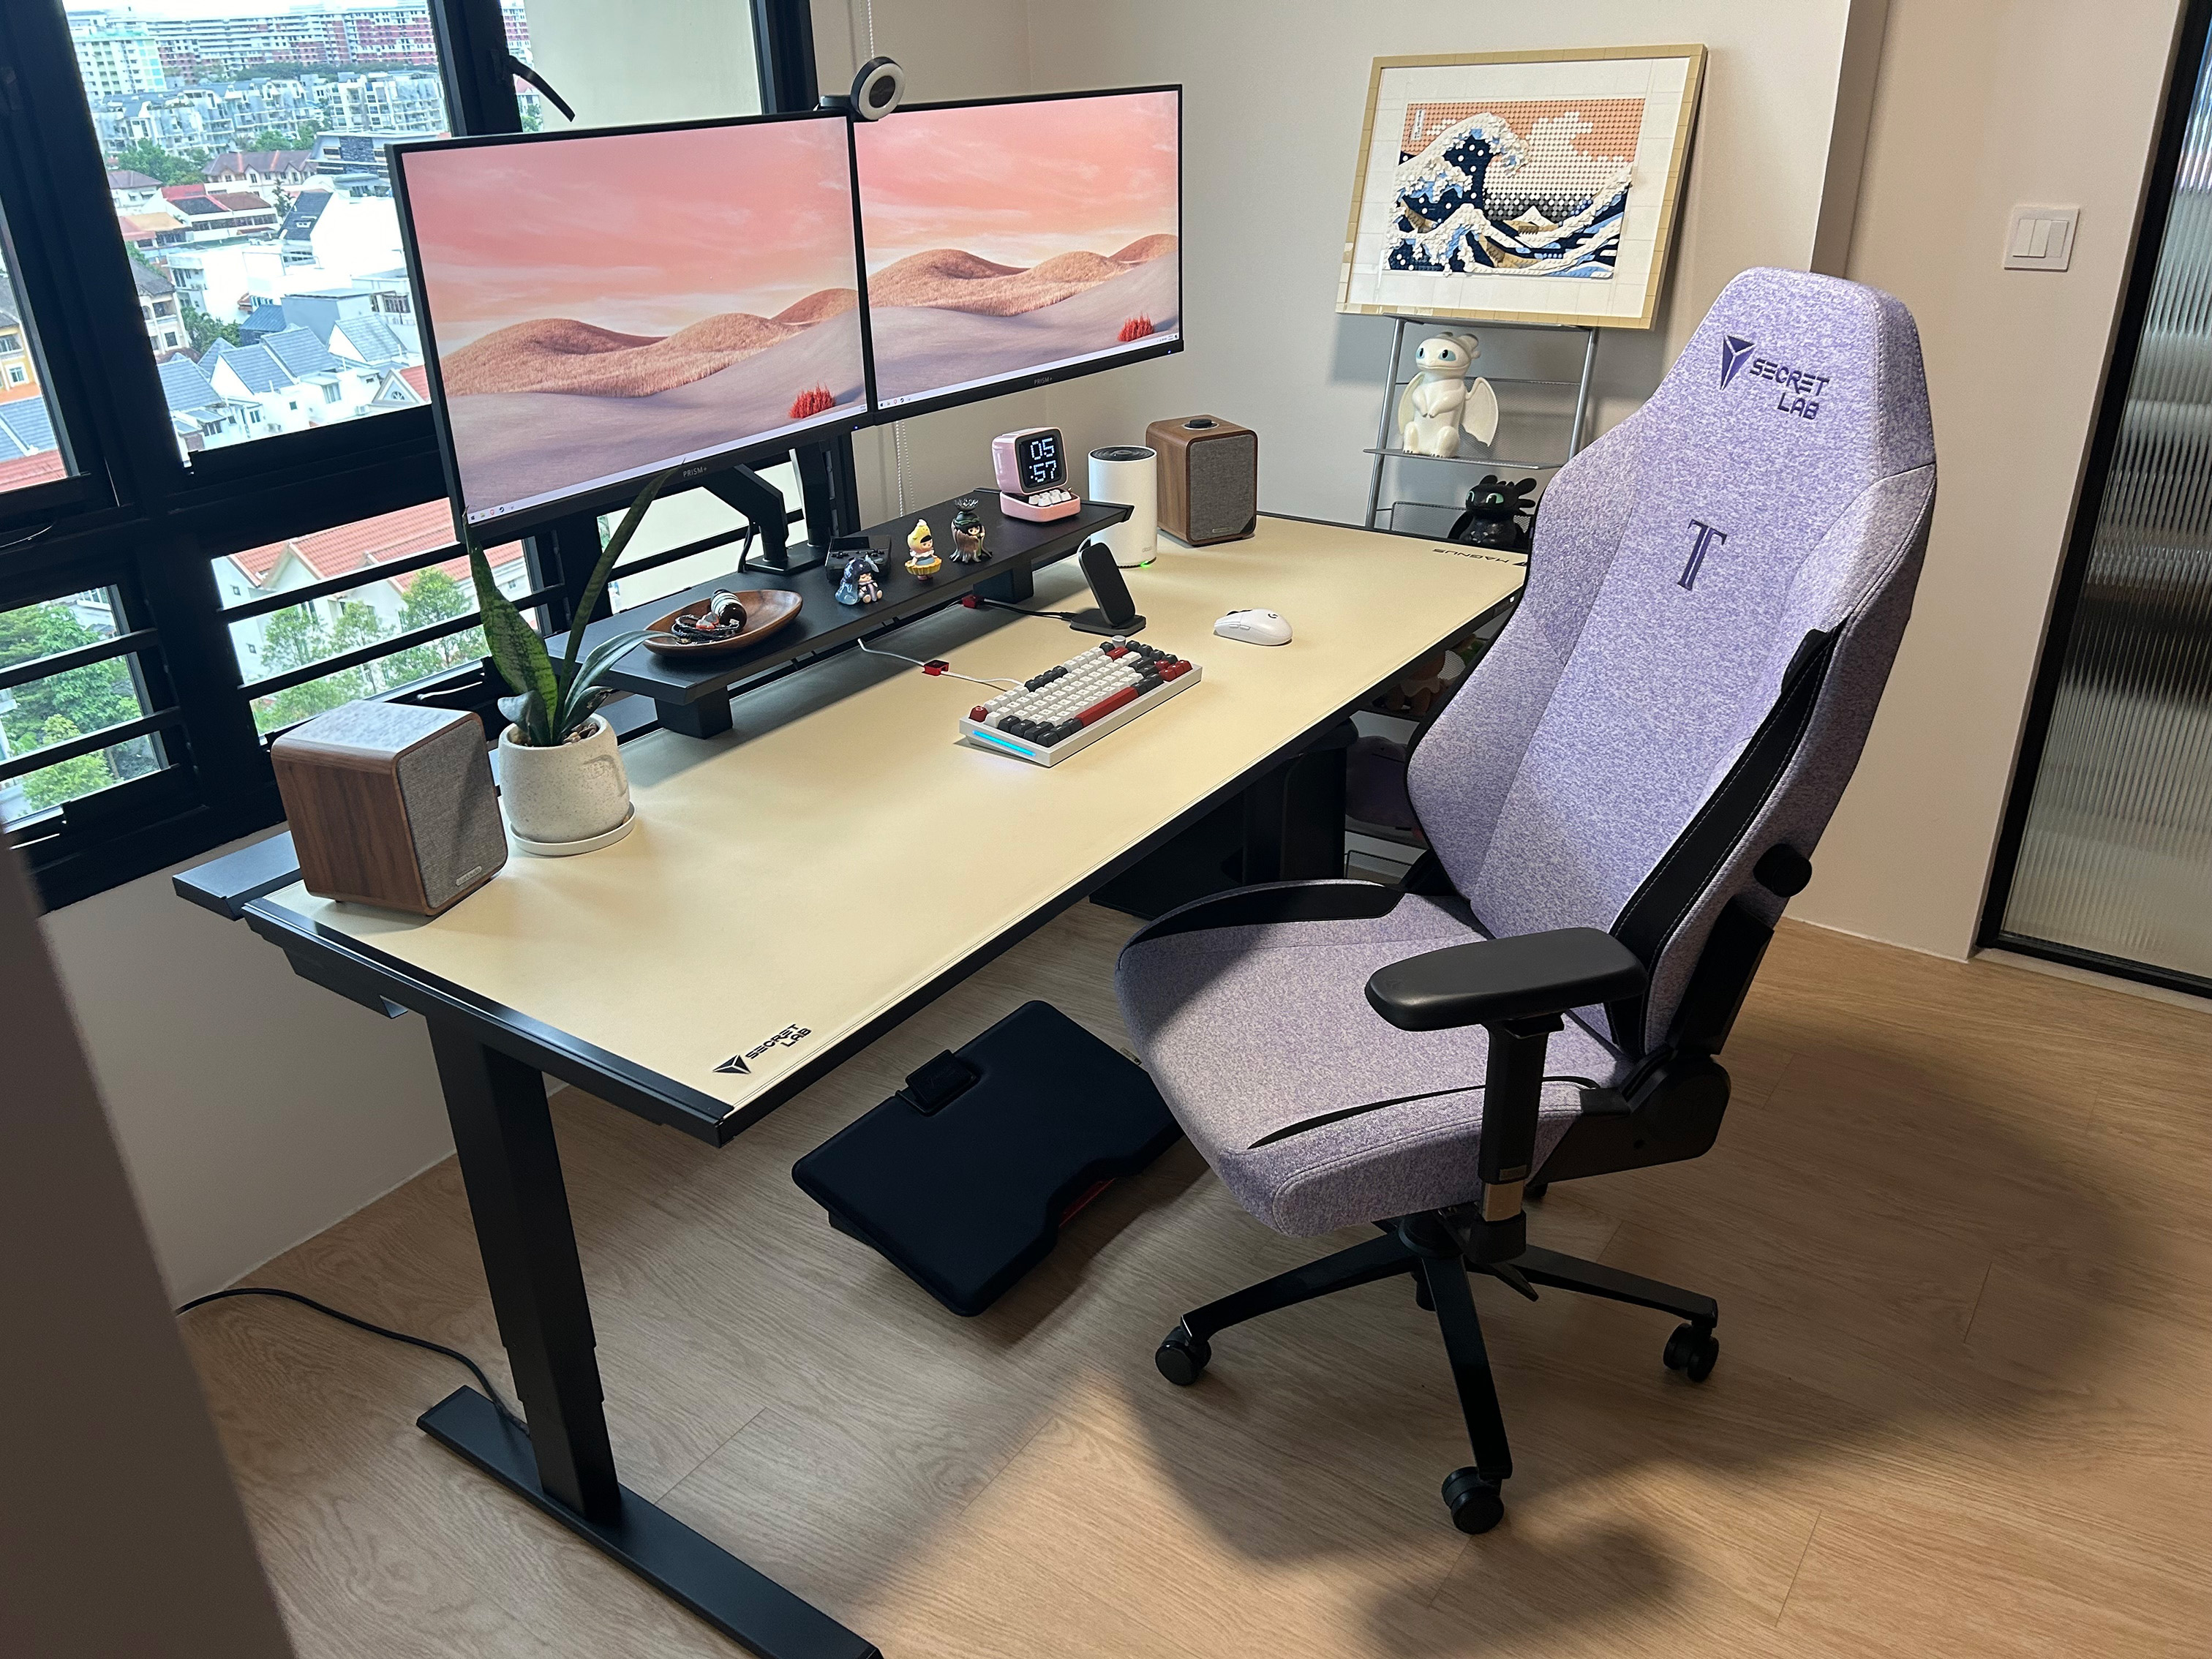
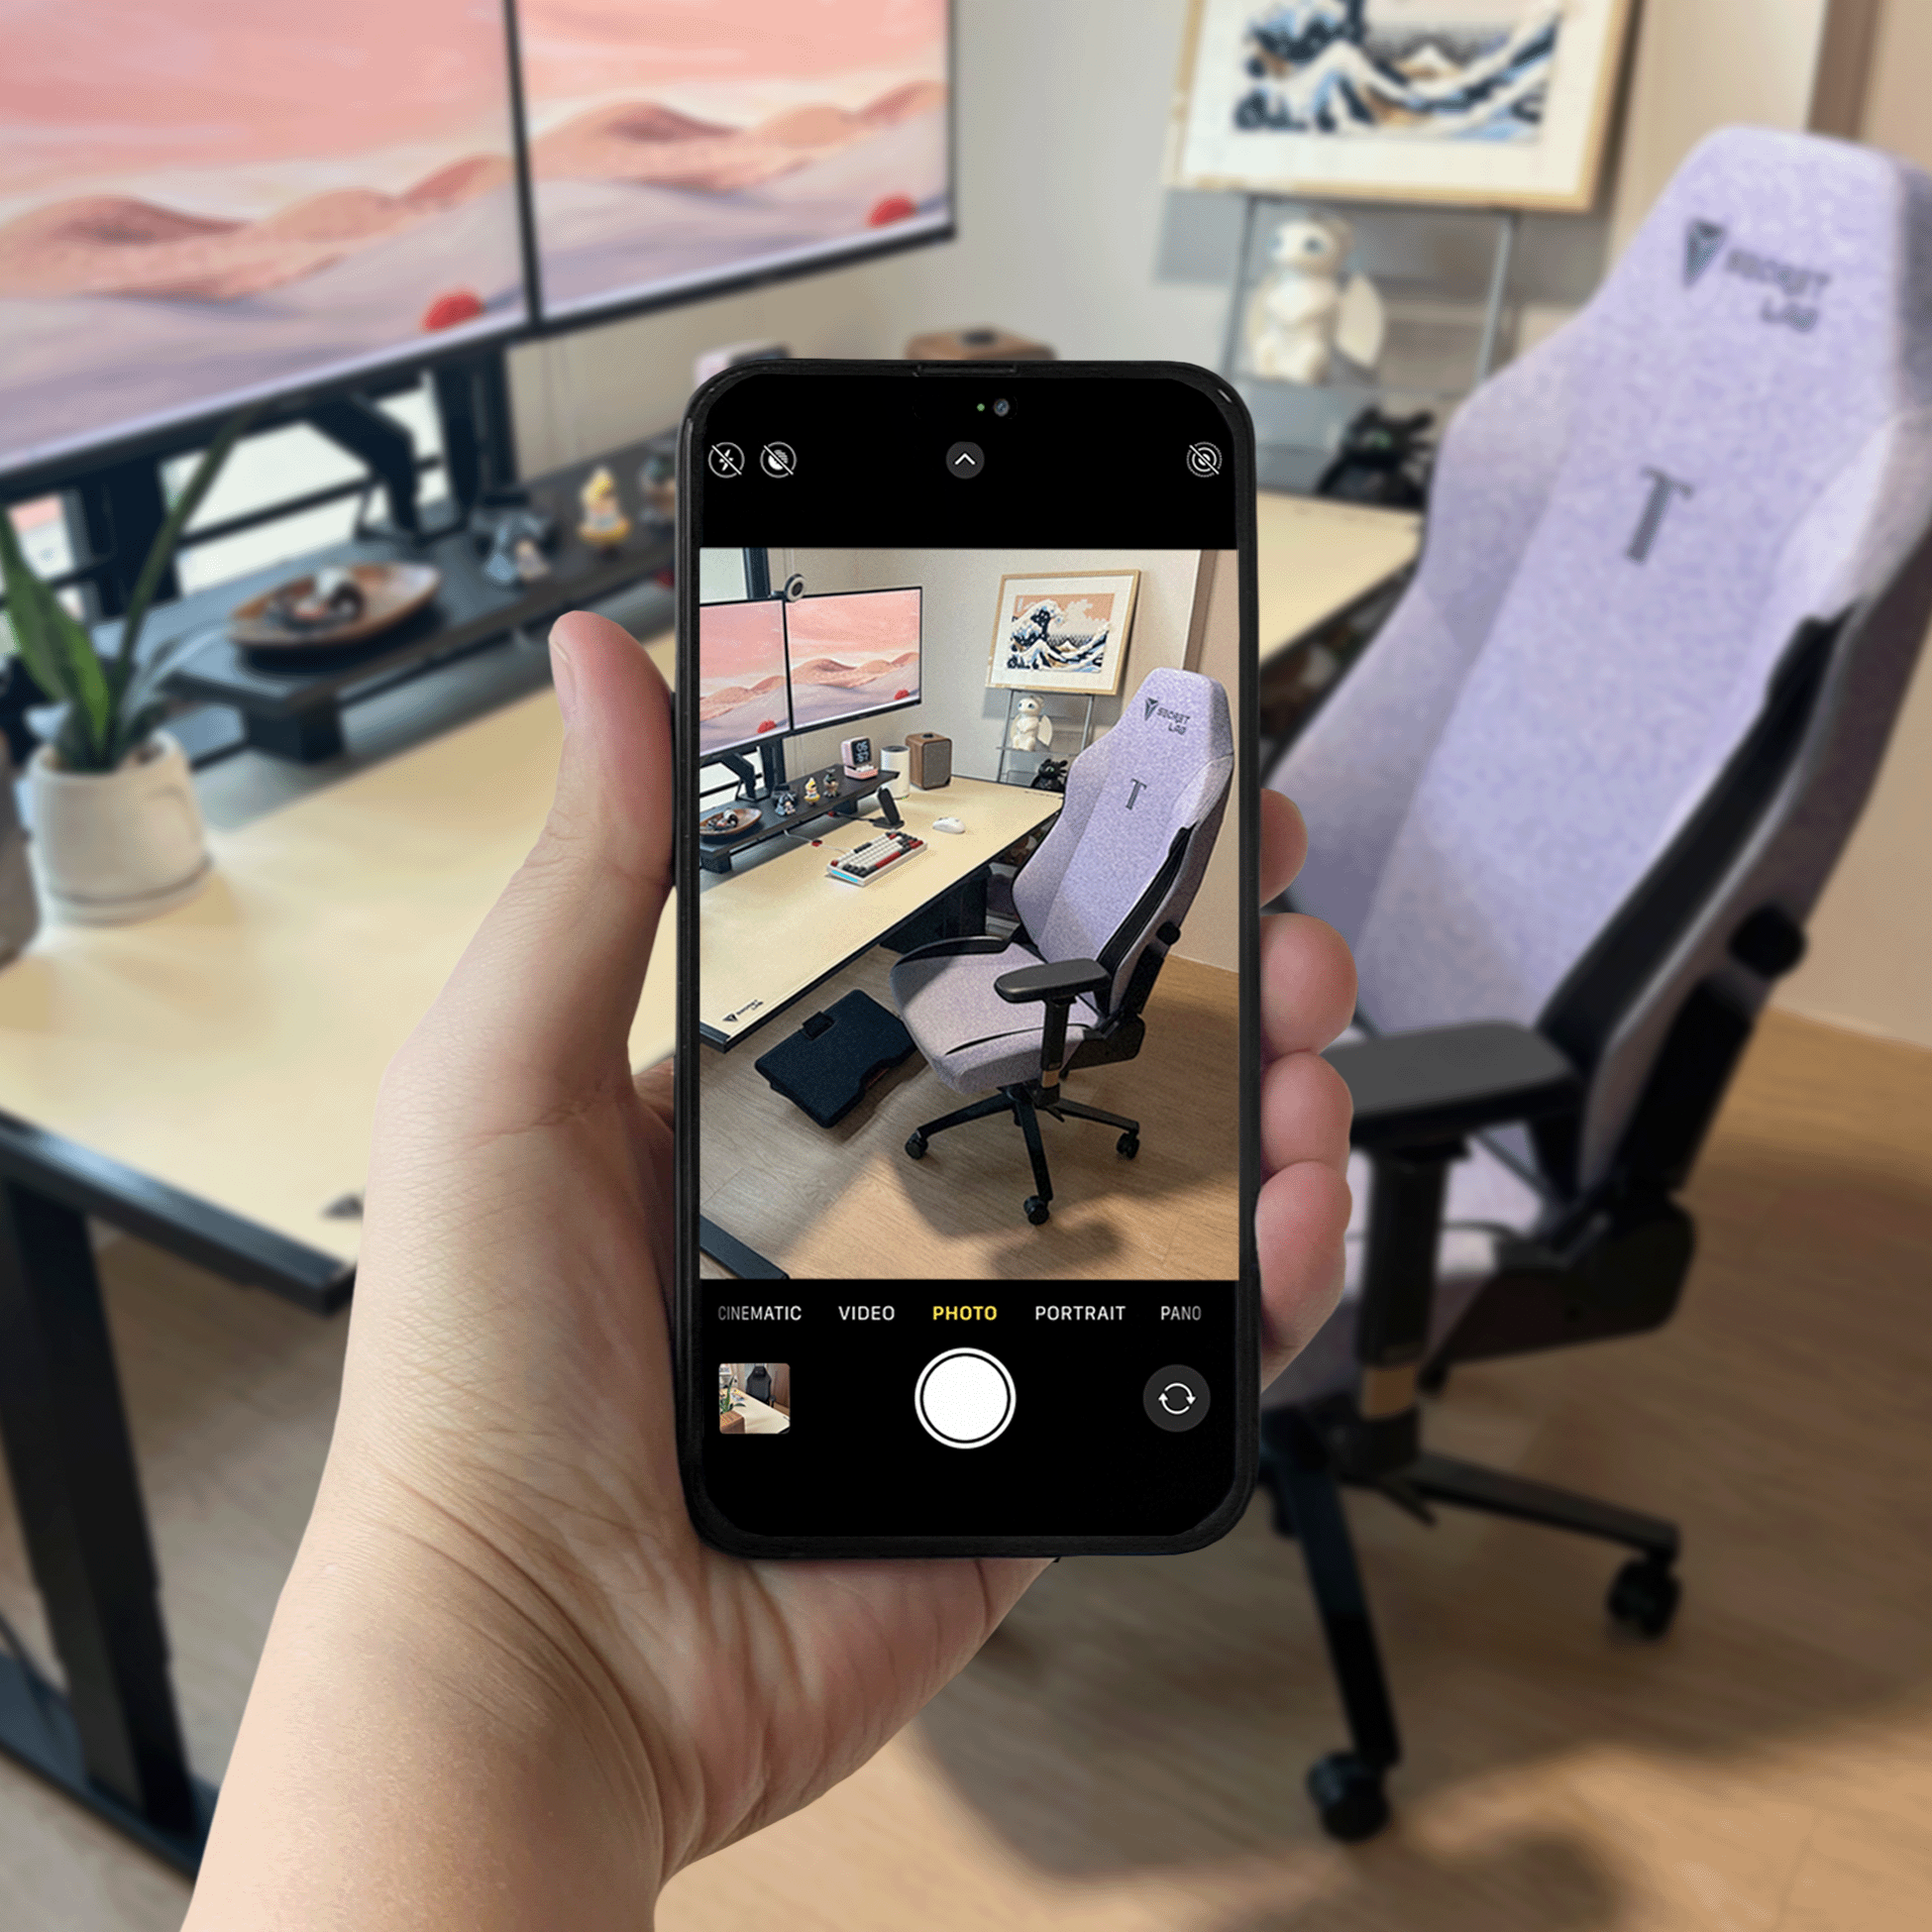
Avoid capturing your setup straight on, such that it occupies the middle of the frame entirely. Instead, position your setup off-center. This lets the viewer take in more of your desk and also creates leading lines that draw the eye to your chair.
Rotate your chair so it is angled toward your desk at roughly 45°. This will allow you to flaunt the detailing on the chair’s backrest and side wings.
Take your setup photo from a higher angle
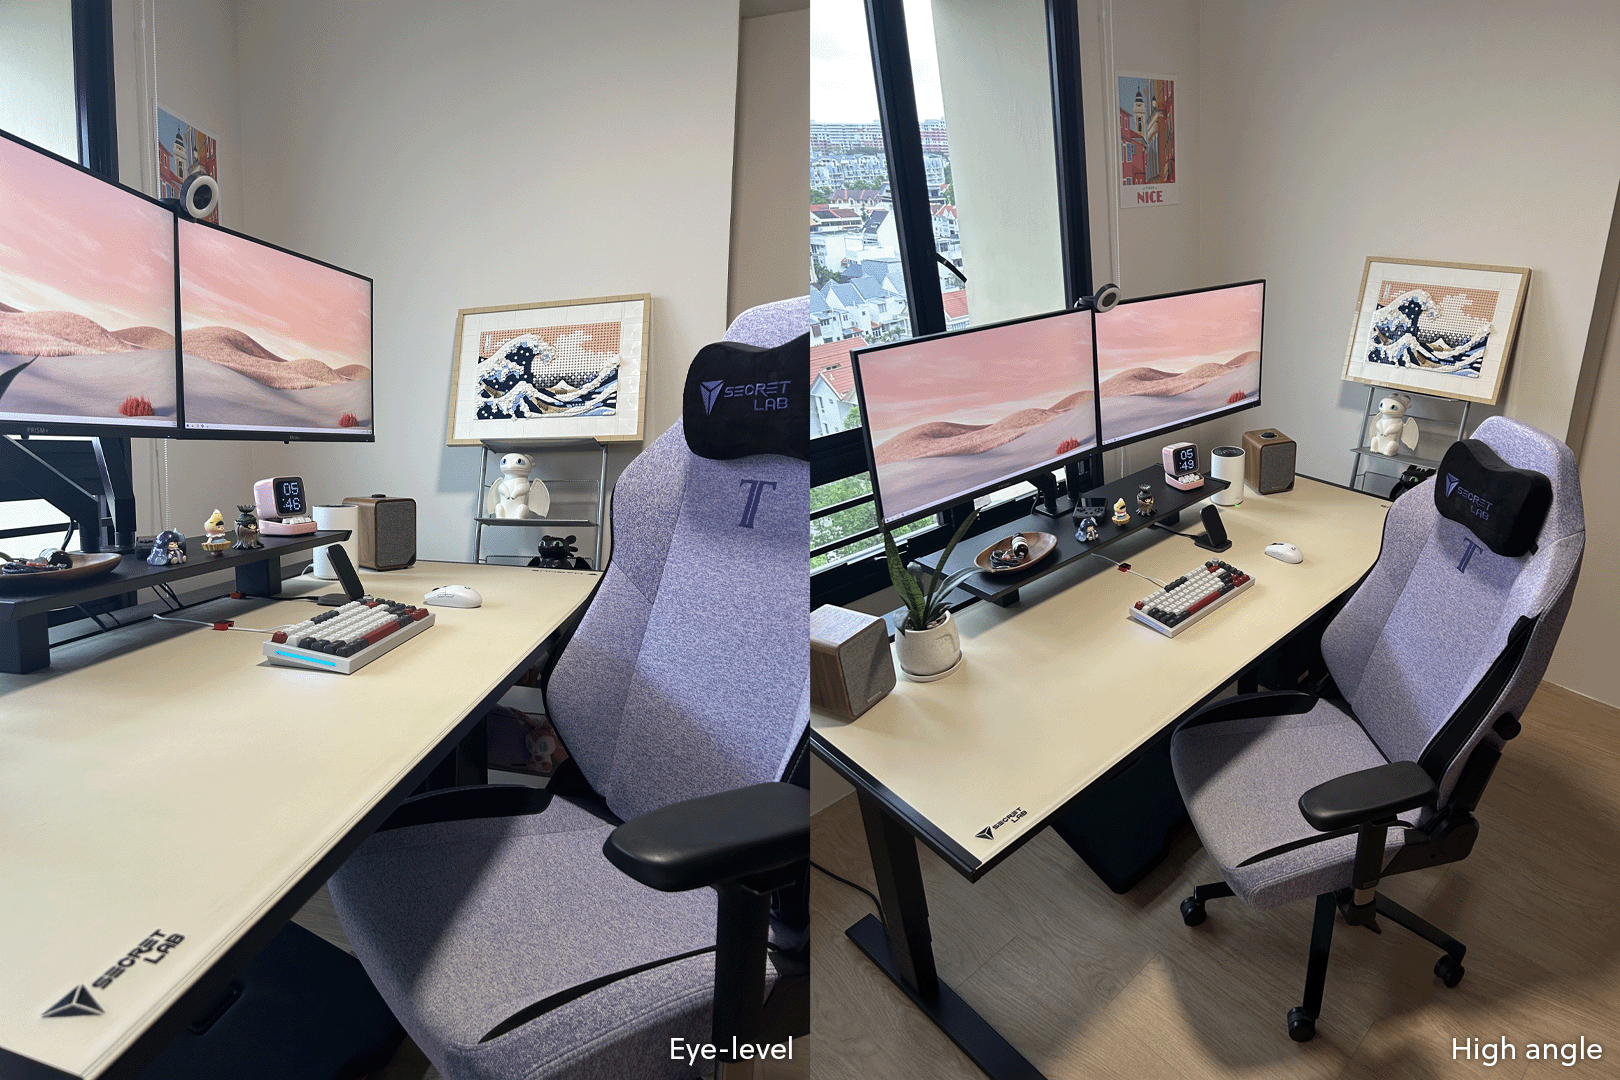
Higher angles are more flattering. You can capture more of your desk and show off your desktop organization — including your Secretlab MAGPAD™ Desk Mat.
This also lends more balance to your composition and gives your setup more visual weight.
Use the 1x or 2x lens to avoid capturing unsightly cables
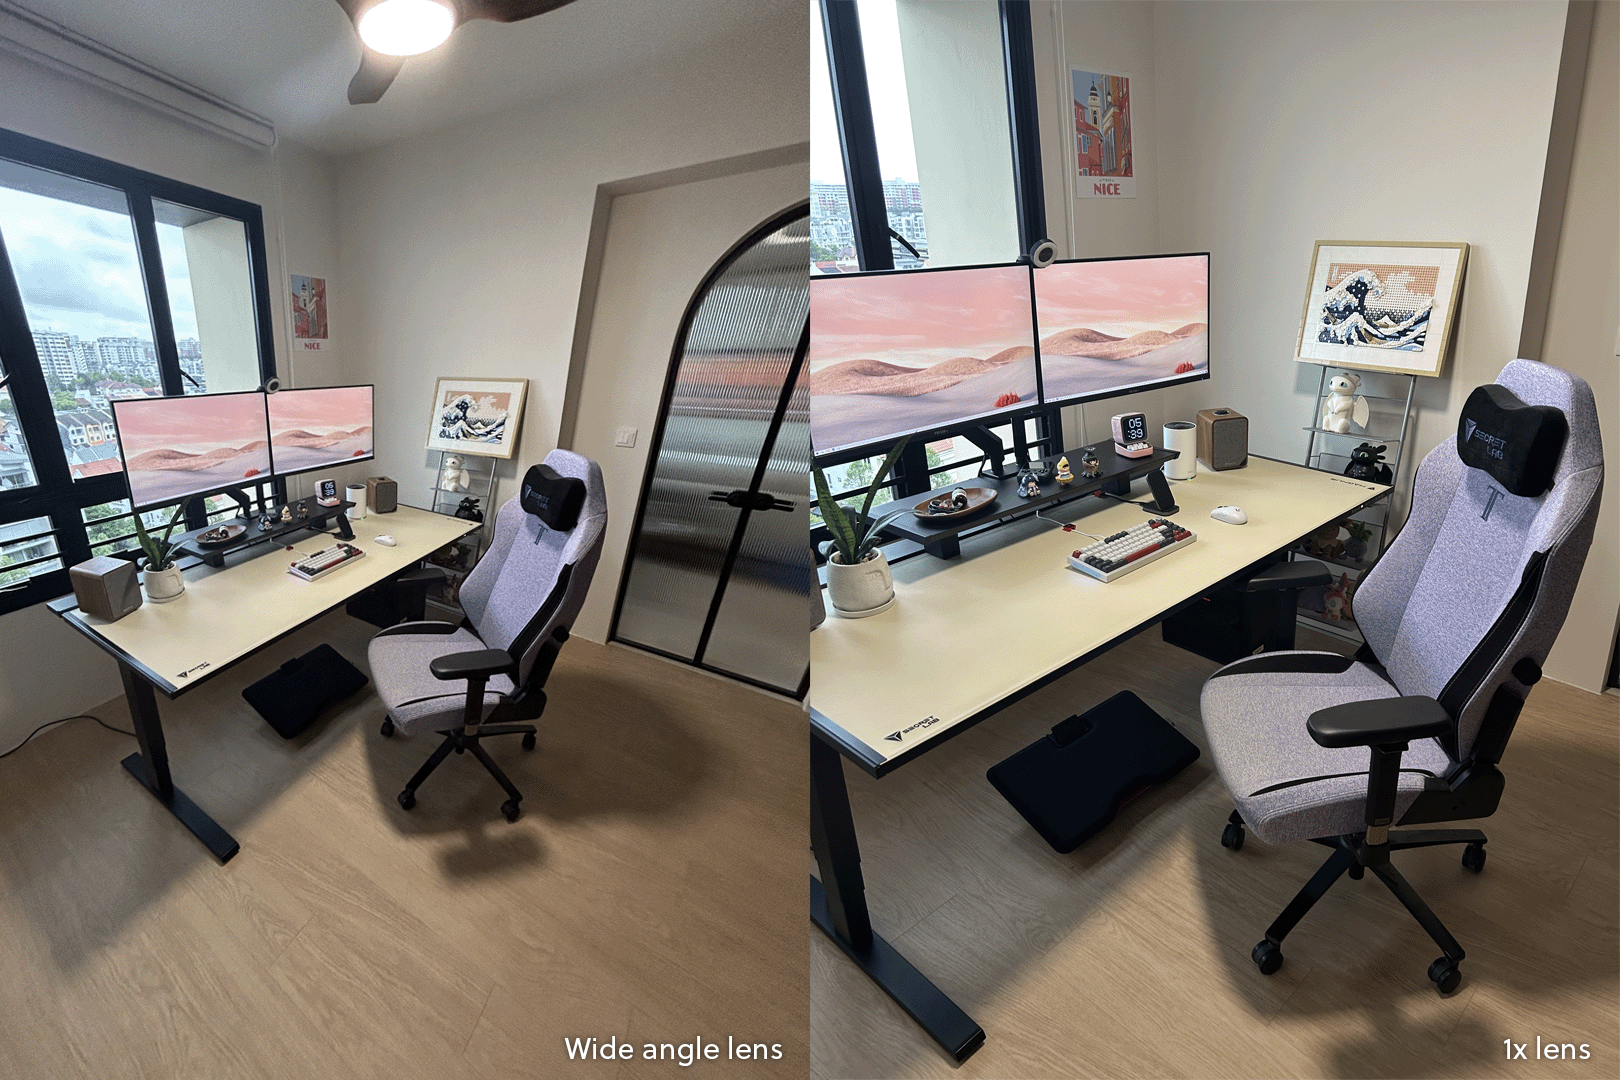
Use the 1x or 2x lens to create a tighter composition and avoid capturing unsightly cables, such as power cords running from your desk.
Do not use your wide-angle lens because it can result in distortion. Distortion refers to the warping effect that occurs due to the physical build of a camera lens. For instance, it can cause your chair’s seat base to look disproportionately small or large, depending on the angle. At the same time, your backrest may appear oddly flat.
To minimize clutter, use cable anchors to organize and keep loose cables in place. Accessories like a headphone hanger or PC mount can also help to free up space on your desk for an even cleaner look.
Make use of natural lighting
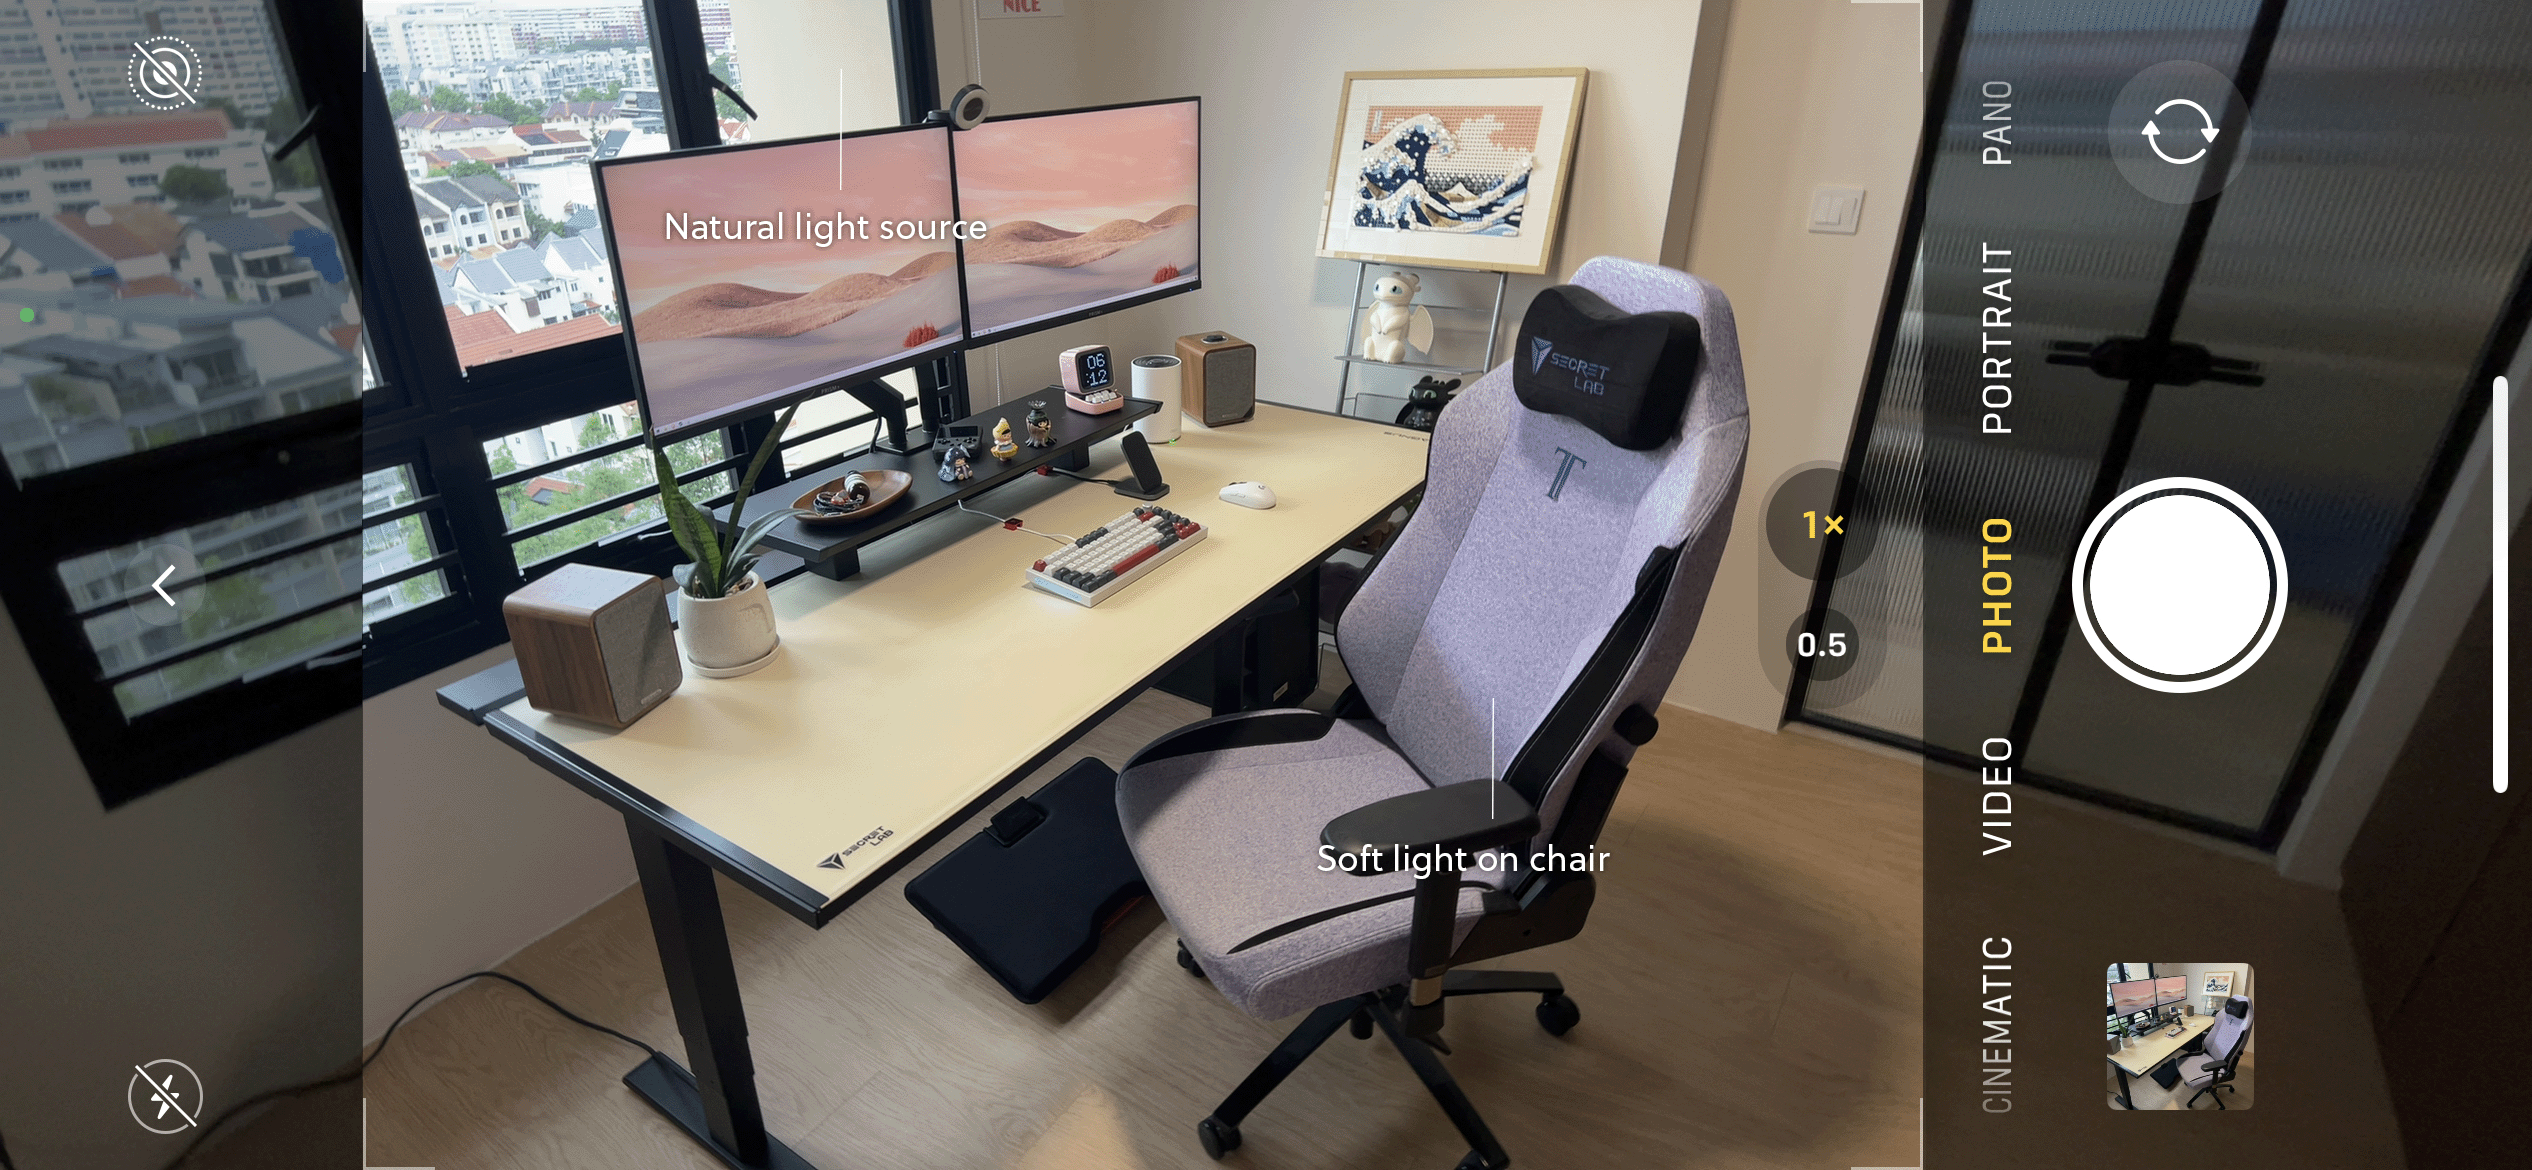
Compared to harsh fluorescent lighting, natural lighting offers a soft, diffused light source that illuminates your setup evenly — depending on the time of day.
If your setup is not near a window, adding a desk lamp can help enhance the lighting in your photo, particularly when your chair and desk are dimly lit. Colors will appear dull without enough light, and adequate lighting is necessary to bring out the colors of your setup.
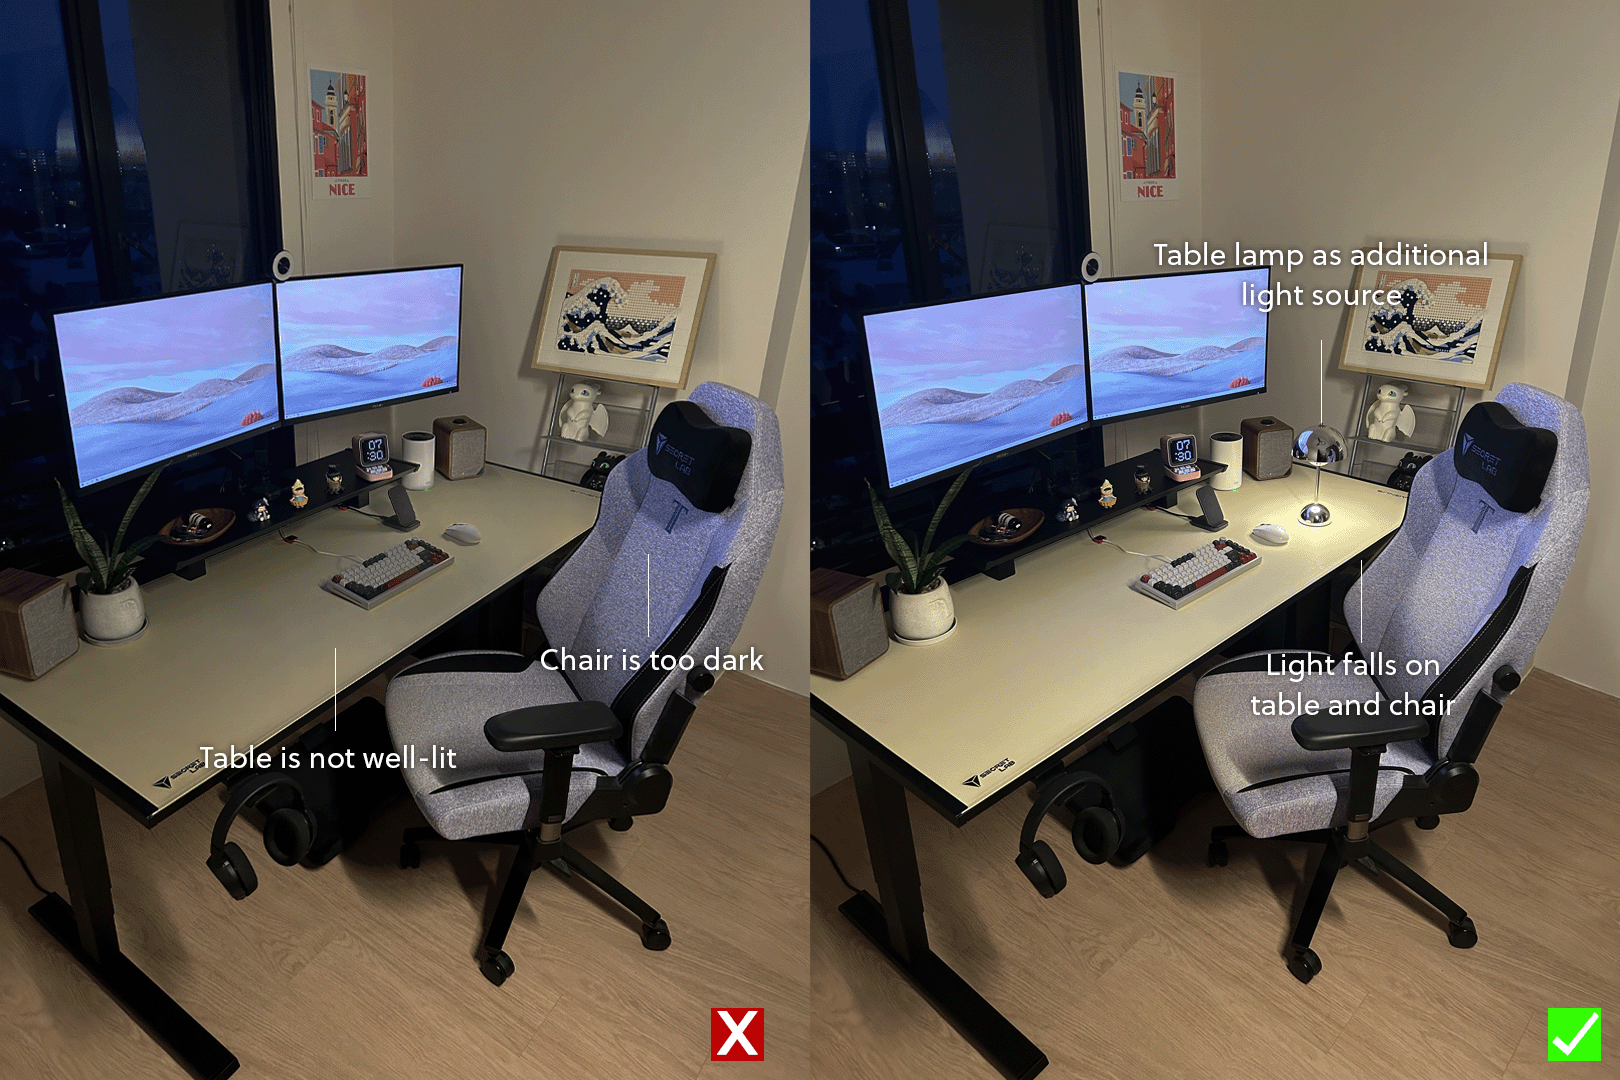
You also want to make sure that your photo is correctly exposed, where there is the right amount of balance between the brightest and darkest areas of an image. Underexposed images have crushing blacks, while overexposed images have blown out highlights — both of which remove detail from your photo. Proper exposure should retain detail in both the bright and dark areas. For the best exposure, turn on HDR mode on your smartphone camera.
Place your chair in the left or right third of the frame
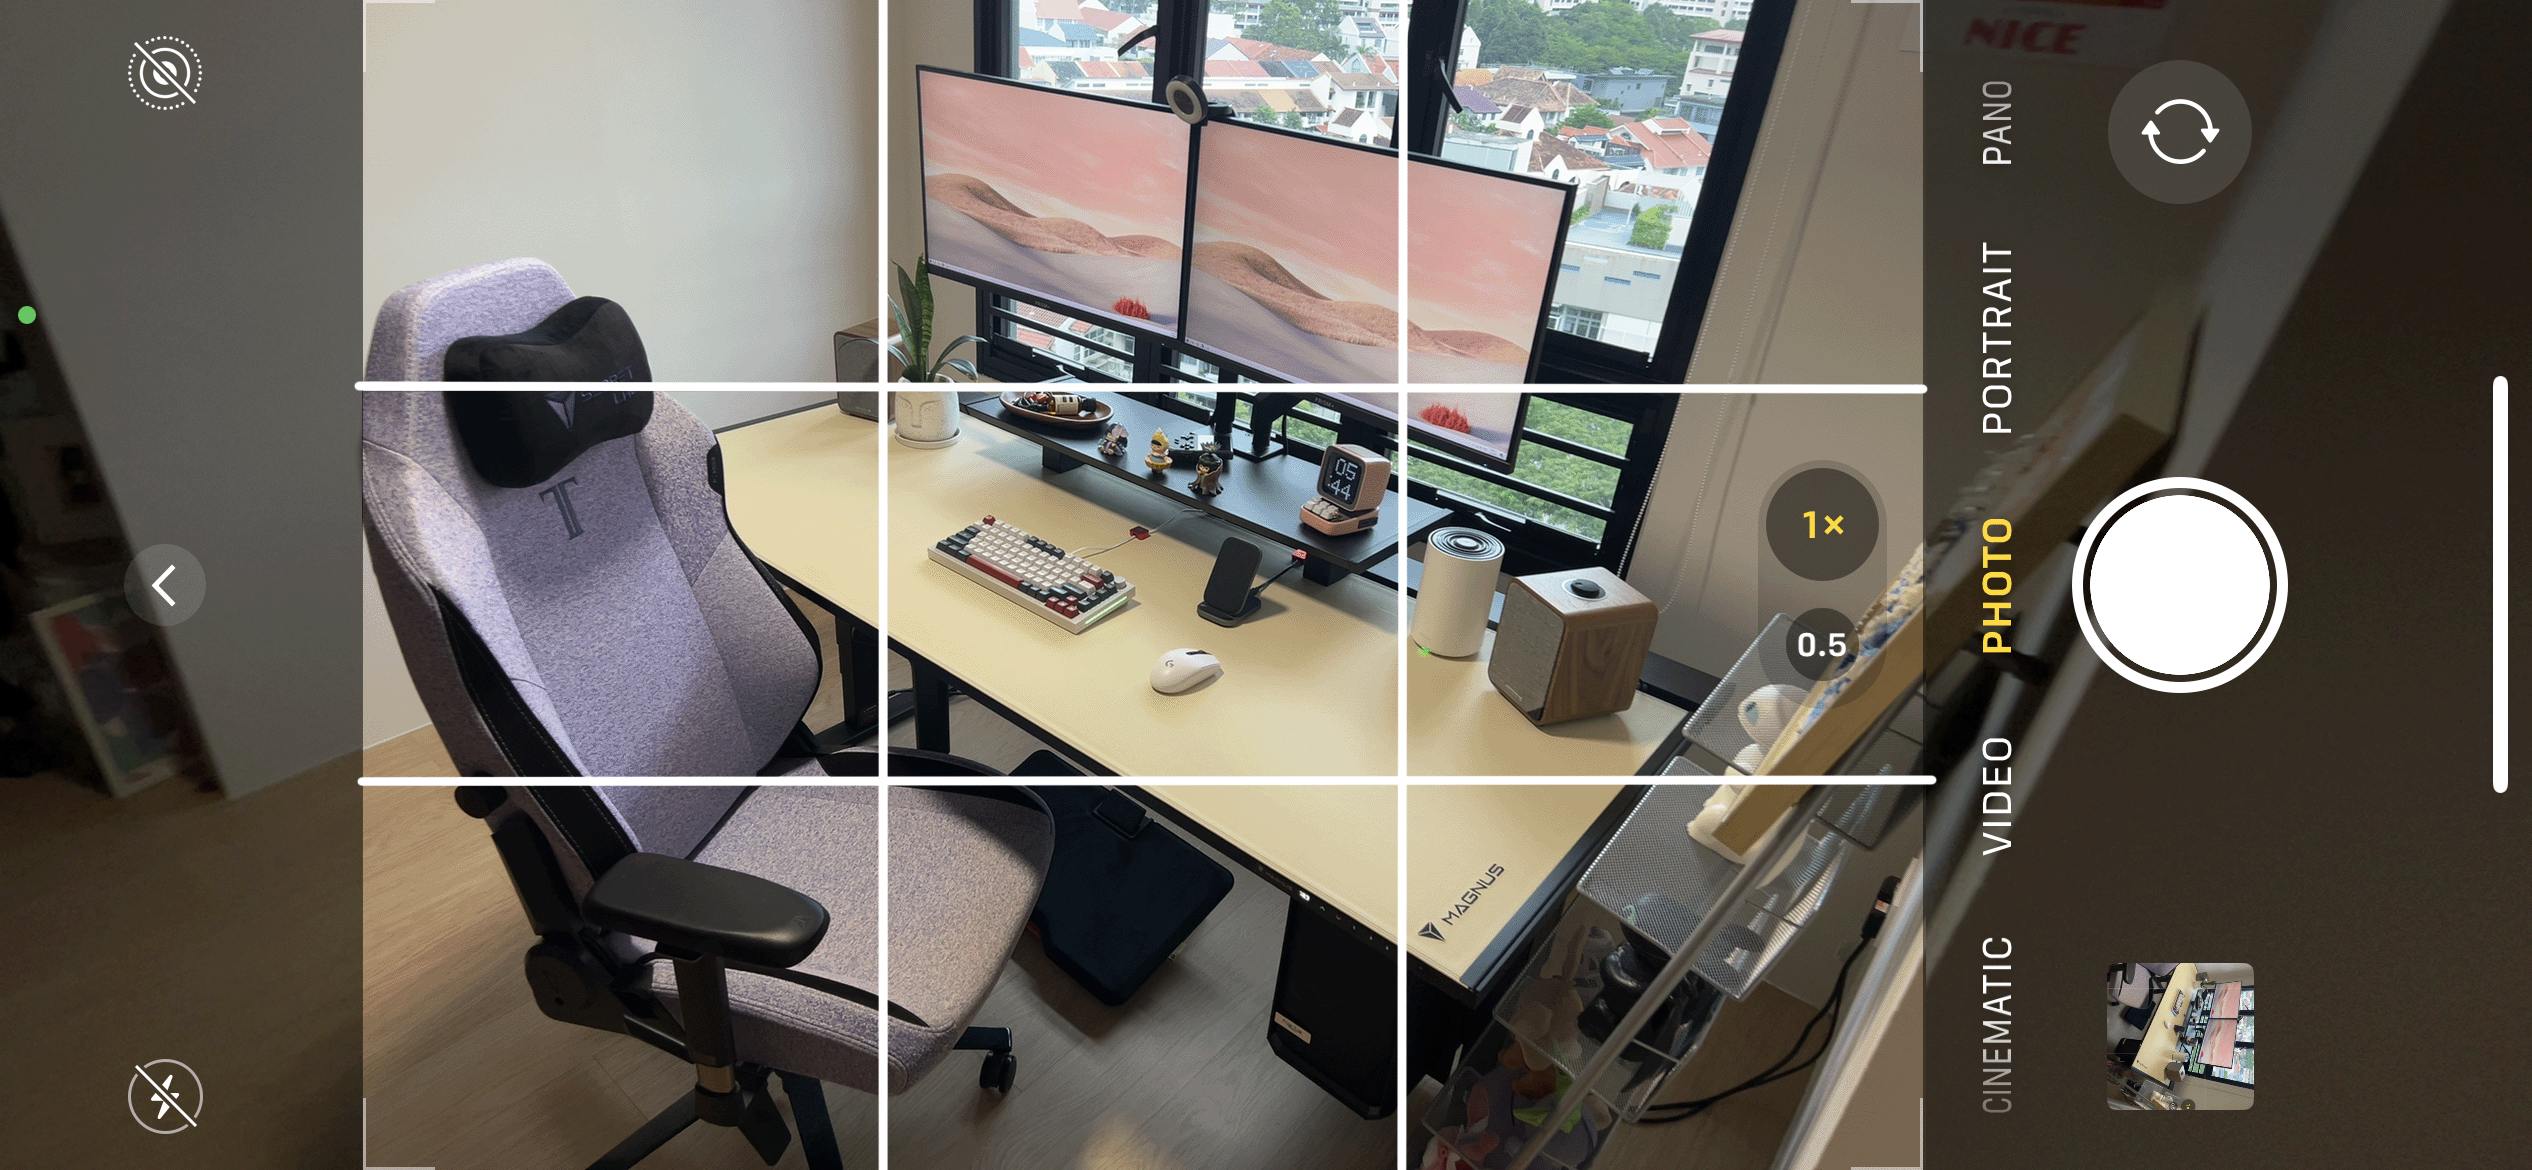
And finally the golden rule of photography — the rule of thirds — an easy tip to creating aesthetically pleasing compositions.
Turn on the grid lines on your smartphone camera to divide the frame into nine equal zones. You can direct focus to your chair by placing it on the grid lines and positioning it in the left or right third of the frame.
Not every photo has to follow this rule, but it helps lay a good foundation for positioning the focal point of your image.
Show us your setup
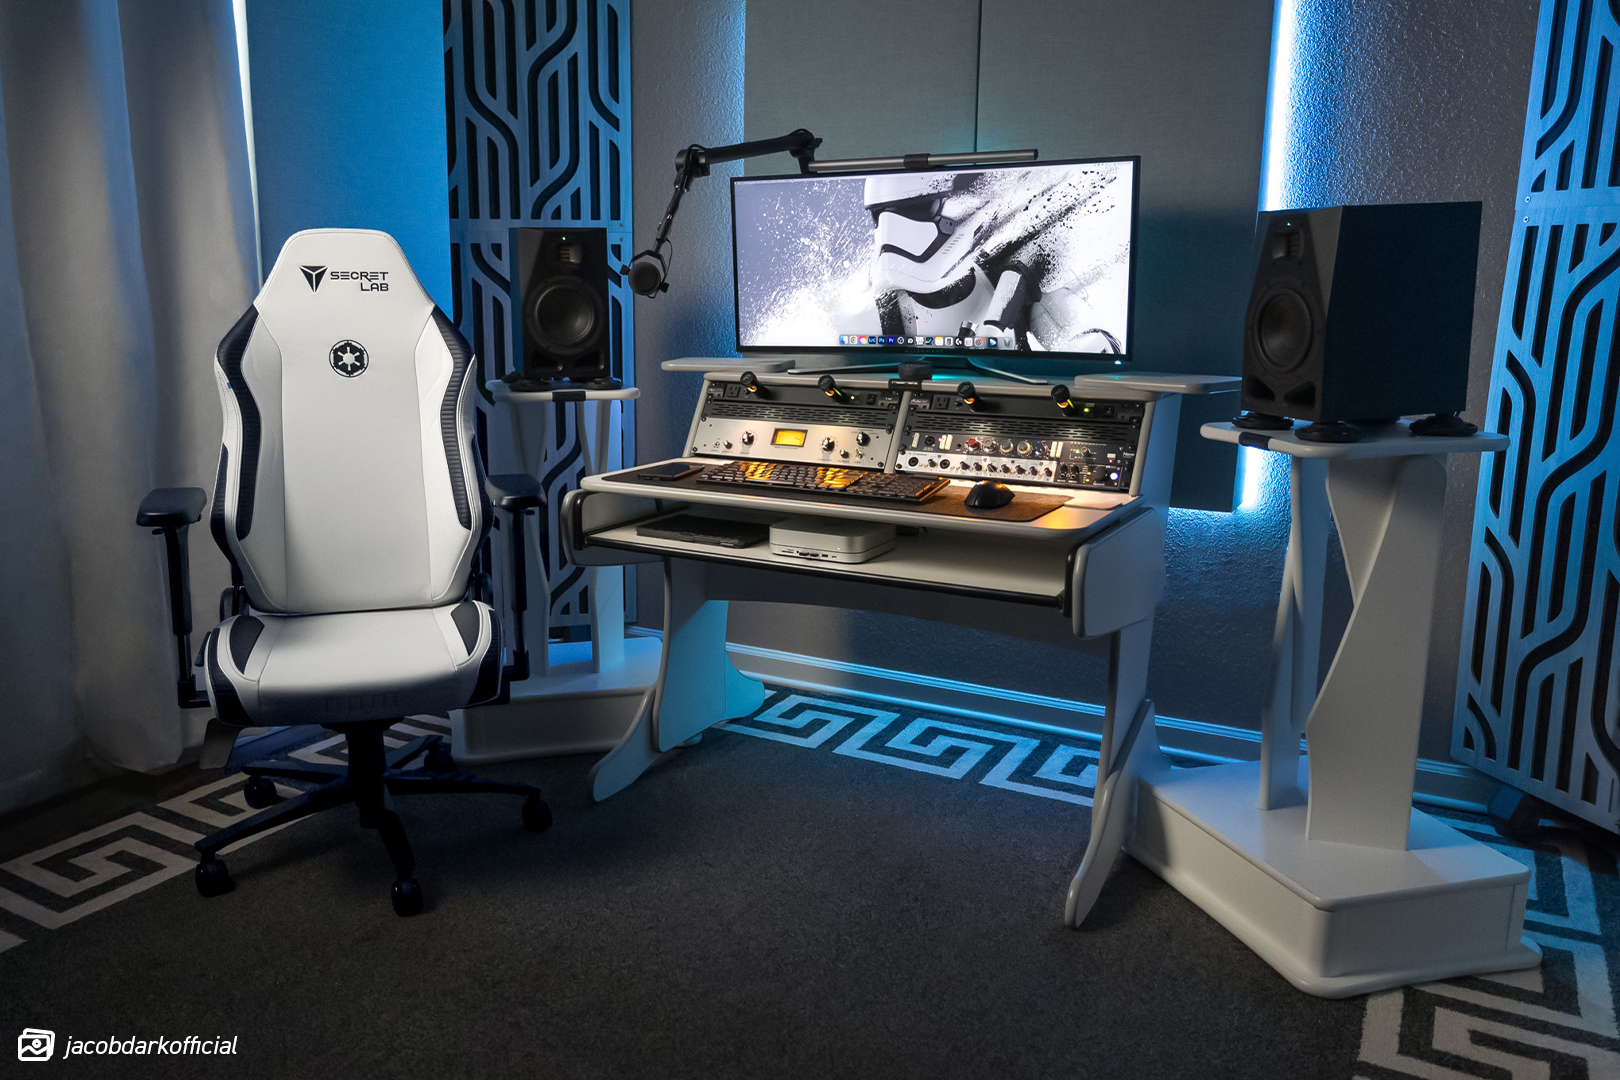
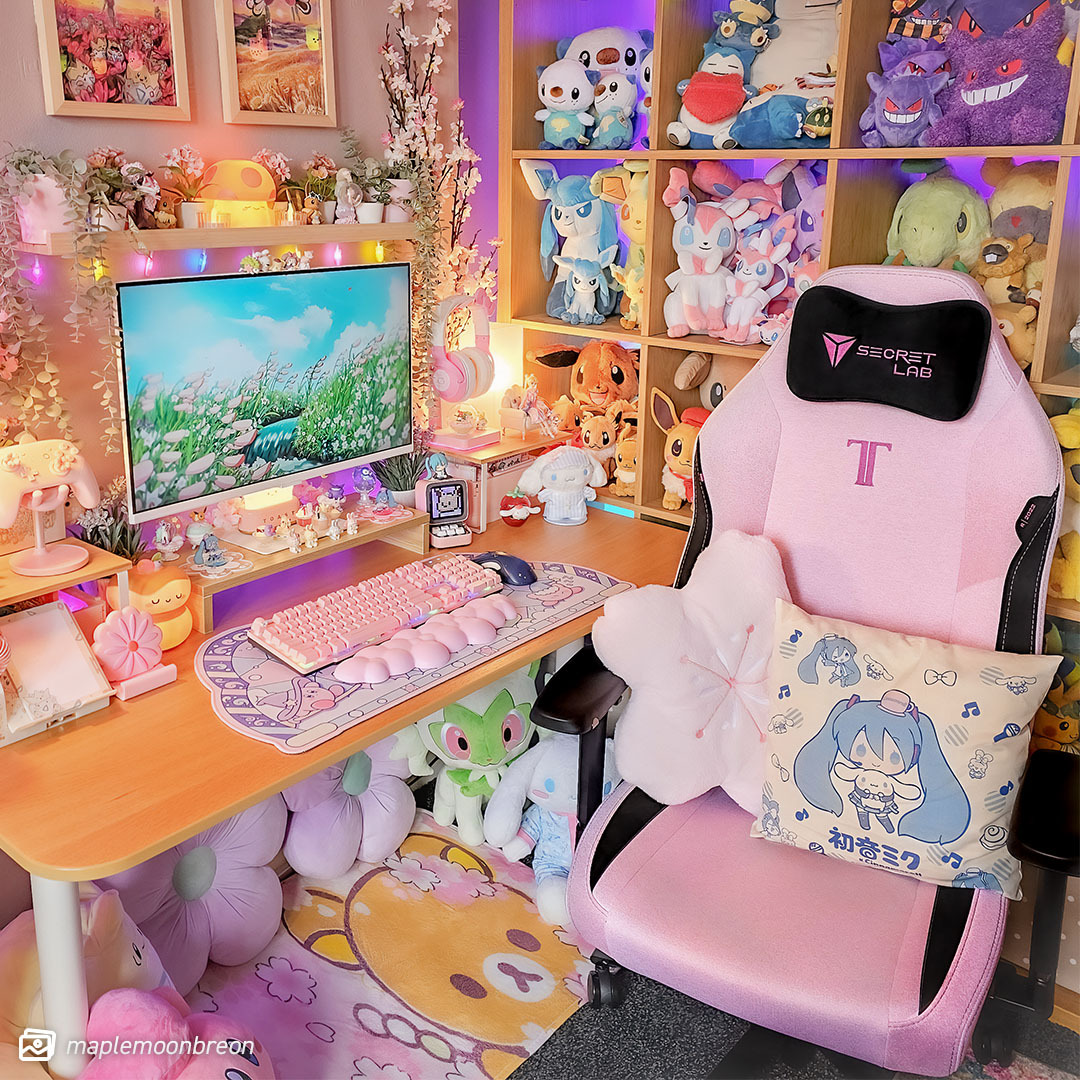
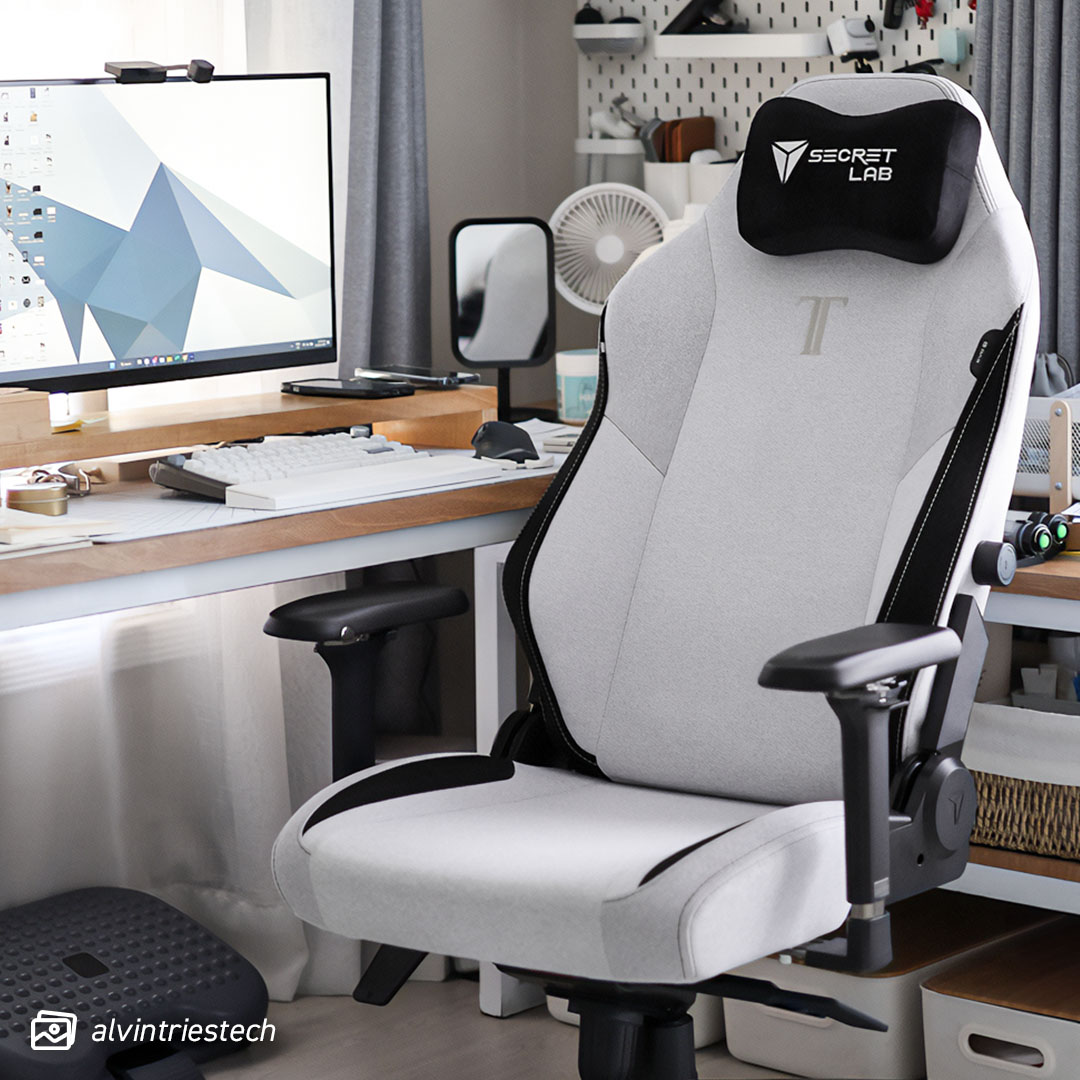
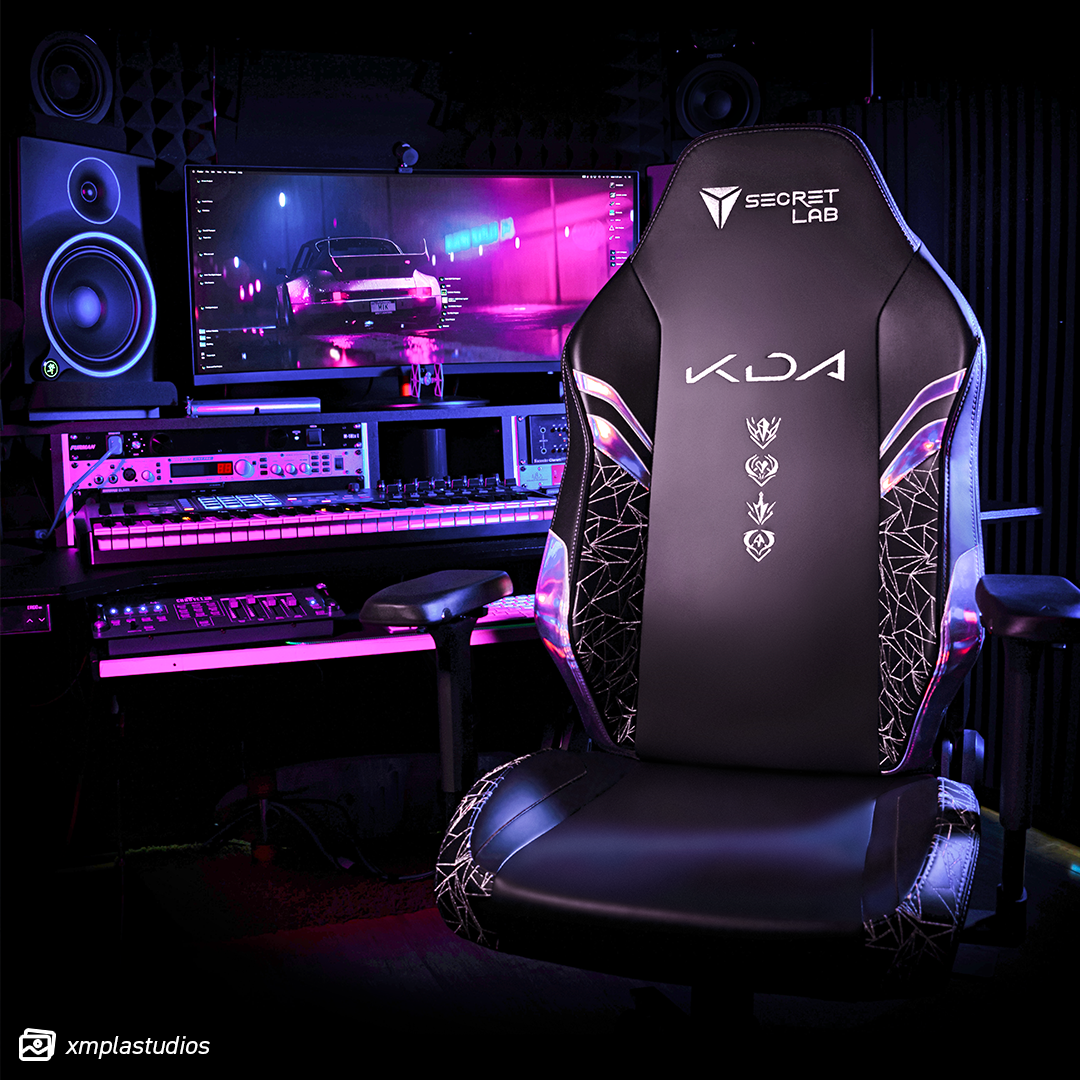
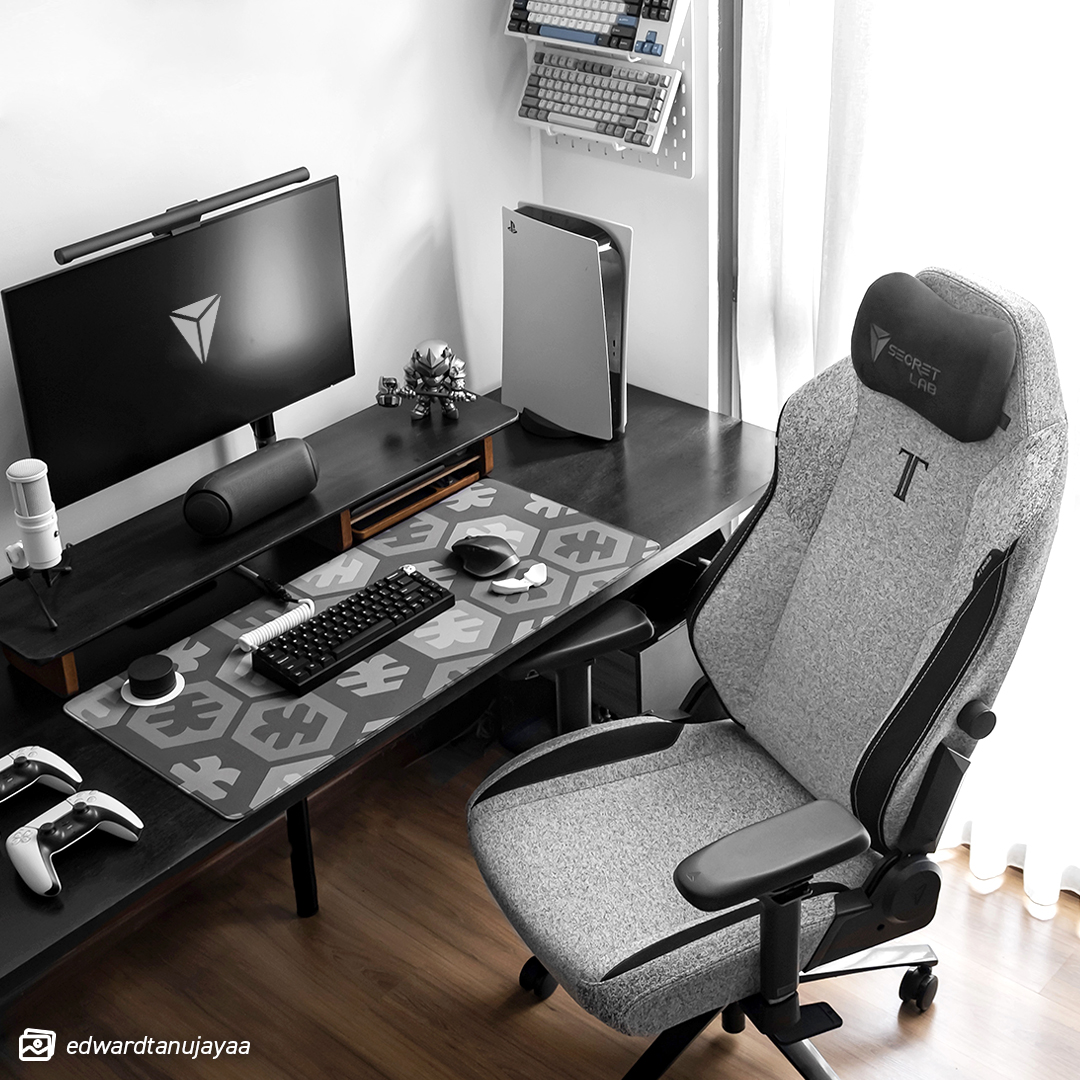
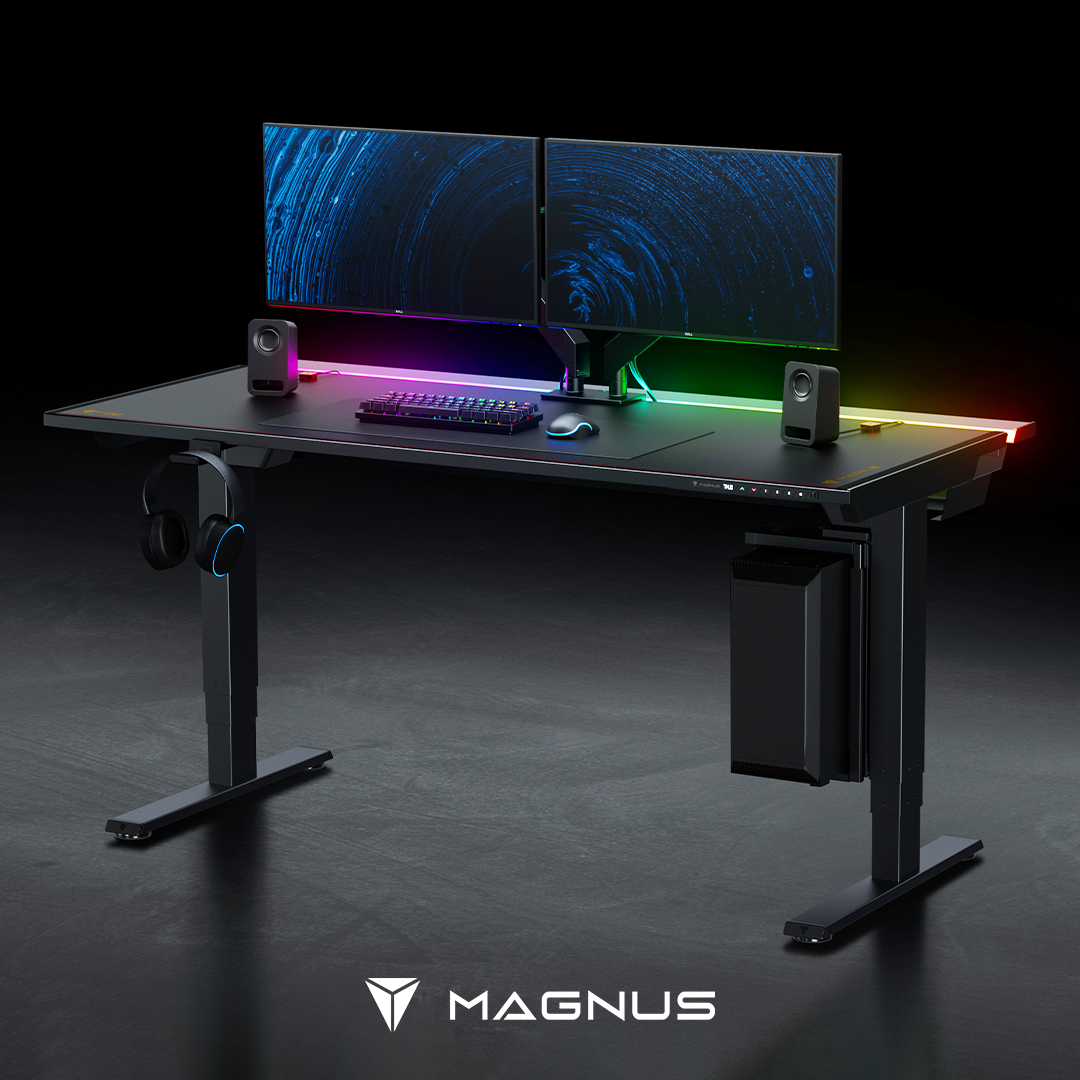
Put these tips to use and take a photo of your Secretlab setup, featuring your TITAN Evo Series chair or MAGNUS desk. Share it with us on social media and hashtag #secretlab to stand a chance to be featured on our socials.

